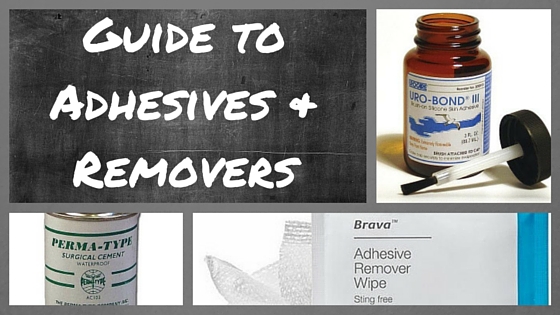
Ostomy Supplies: Adhesives and Removers
 Having an ostomy means having and using an ostomy pouch. The ostomy pouch and wafer use adhesives to adhere or stick to the body. A secure seal is important for many reasons. The ostomy system fitting securely and remaining in place means you can remain confident that your pouch won't fall off or become loose. Your skin won't come into contact with your stoma output so it will not become irritated. Strong adhesion means you will have better wear times so your ostomy supplies will last longer so you spend less money on supplies. Ostomy supply manufacturers like Coloplast, Hollister, and Convatec all research adhesives and try to find the best possible adhesives for their ostomy systems. Ideally, you would not need any ostomy supply accessories because your ostomy system works great by itself and you get fantastic wear time and everything is perfect. I talk to very few ostomates who say their ostomy system is perfect. If you need extra wear time or your ostomy appliance isn't staying in place you might want to give a liquid adhesive a try. Remember: Your doctor and your medical team know what is best for your individual medical needs. It is always a good idea to contact them before changing your ostomy routine. They will have valuable insight into your medical history that will benefit your decisions when it comes to your ostomy.
How Do You Use Adhesives?
- Always always always do a skin test! Test the new product on a small patch of skin and see how your body reacts to the new product. Let it dry. Does it itch or burn? Is your skin red? Do you have any negative reactions? Even if you have used adhesives before, make sure you do a skin test for each new product you try! Do not skip this step.
- Clean the skin around your stoma thoroughly and carefully. Make sure you use soap that doesn't have oil or added moisturizers. Added lotions will work against you and keep your ostomy system from adhering. Rinse with fresh clean water.
- Dry the area around your stoma. Air dry is best so you don't get lint from a towel on your stoma. A good tip is to use a hair dryer on low to make sure your skin is totally dry.
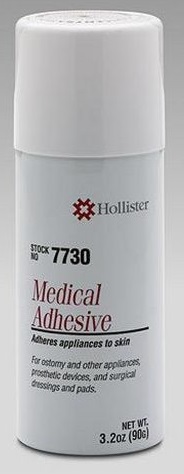
- Apply a thin layer of liquid adhesive directly to the skin around but not on your stoma. This should be the same skin that will be in direct contact with your ostomy wafer. Only apply one layer of adhesive to your skin because multiple layers will take too long to dry and can irritate the skin. The adhesive should not appear gummy and any clumps should be removed. You are looking for a smooth application.
- Allow liquid adhesive to dry for a few minutes. Your skin will feel sticky. Apply your wafer. If you are using a two-piece ostomy pouch then you will leave your wafer attached to your skin and drain or throw your ostomy pouch away as needed. Liquid adhesive is not the best choice for one-piece ostomy systems. Do not glue your pouch to your body, only the wafer.
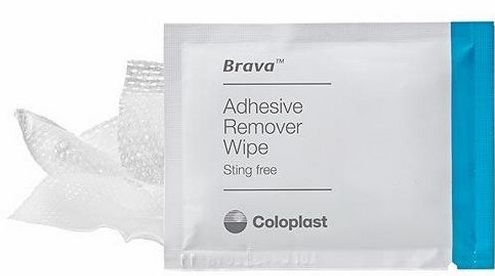
When you use a liquid adhesive it is a good practice to remove your ostomy system by using an adhesive remover. They are available in wipes and sprays, it is personal preference as to which works best. Some people prefer sprays because they find it is easier to get under the wafer with the spray. Others prefer wipes because they feel like they have more control and they say you can use the edge of the wipe to get under the ostomy wafer.
Removing the Ostomy System with Adhesive Remover
- Always always always do a skin test! Test the new product on a small patch of skin and see how your body reacts to the new product. Let it dry. Does it itch or burn? Is your skin red? Do you have any negative reactions? Even if you have used adhesive removers before, make sure you do a skin test for each new product you try! Do not skip this step.
- Gently apply the adhesive remover around the wafer by either spraying the product or using the adhesive remover wipe.
- Let the remover start to work by waiting a few moments.
- Gently and carefully start to remove your ostomy wafer. Continue using more of the adhesive remover as you go. If you get to a stubborn spot and the wafer is really stuck, do not pull or yank! You don't want to damage your skin. Add more adhesive remover and wait a few more moments. The adhesive remover will work to break down the adhesive.
- Make sure you are adding the adhesive remover all the way around your device. This will cut down on your skin becoming torn or damaged with pouch changes.
- Once your appliance is completely removed, check your skin. Is it red? Does it appear healthy? Healthy skin is the norm! Broken, torn, irritated skin is not! Always check with your medical team if your skin is not healthy.
- Clean the area with soap and water and follow your steps to applying a new ostomy pouch.
Hopefully this guide has answered some questions you may have had about ostomy adhesives and removers. Whether or not you use an additional liquid adhesive, it is always a good idea to use an adhesive remover when you remove your ostomy pouch regardless if it is one-piece or two-piece.
Explore Our Newest Medical Guides & Insights

Closed vs Drainable Ostomy Bags: Which Is Right for You?

Why Do Ostomy Wafers Have So Many Different Names?

Two-Piece Ostomy Bags - What You Need to Know

Sterile Gloves for Home Care: When to Use Them and How to Choose

Adult Incontinence: Help with Skin Care

